
Framework lead-in: why a structured approach matters
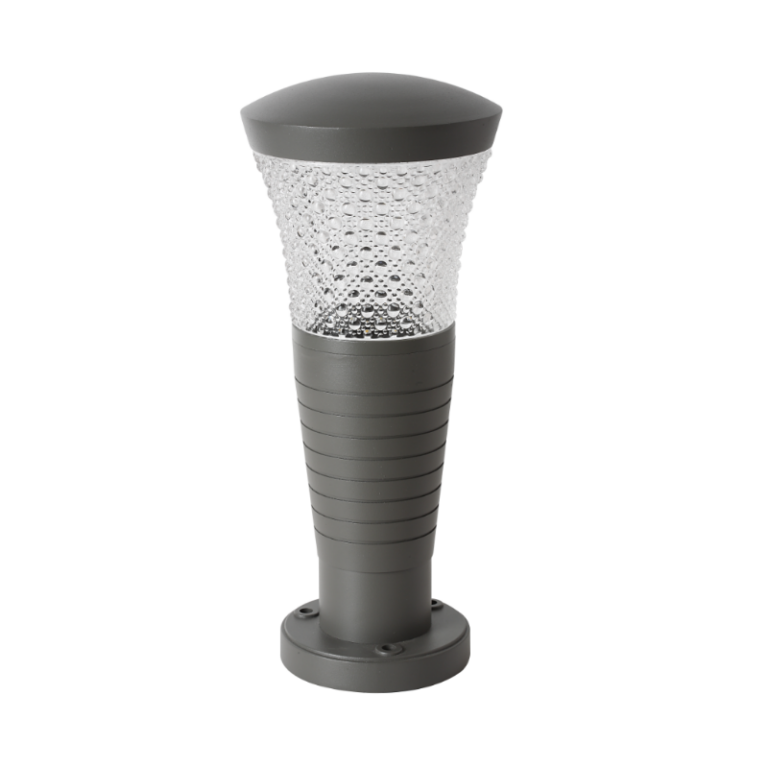
Specifying an outdoor lighting manufacturer requires a discipline-driven framework that links photometric intent to procurement realities. This guide presents an engineerable decision path covering photometrics, mechanical performance, and supply-chain controls so design intent becomes reliable field performance. Early in the process, pick the family of fixtures you’ll standardize—whether pathway bollards, low-profile in-grade, or site poles—and validate prototype photometry on plan sections. For typical pedestrian routes I often standardize on bollard lights for wayfinding and transition zones, and then confirm fixture-level metrics with representative led bollard lights to ensure lumen output, beam angle, and glare control meet the design targets. A municipal retrofit like the High Line in New York City illustrates how a clear spec framework prevents mismatch between aesthetic intent and maintainability.
Tiered framework overview: three decision layers
Use three tiers to structure vendor evaluation: 1) Photometric performance (lumens, beam angle, color temperature), 2) Mechanical & environmental compliance (IP rating, materials, mounting), and 3) Manufacturer capacity & QA (lead times, MOQ, first-article inspection). Each tier produces measurable acceptance criteria you can write into bid documents and contracts; the framework keeps discussions technical and prevents scope creep during mockups and site trials.
Photometric performance: specifying lumens, beam angle, and controls
Start with measurable targets. Define target maintained lux at the surface and the allowable uniformity ratio, then back-calculate required initial lumens per fixture based on mounting height and beam angle. Specify color temperature and CRI explicitly: typical pathway work uses 2700–3000 K for warm appearance with CRI ≥ 80 for material rendering. For security or task areas, raise lumens and tighten beam angle to control spill and minimize glare. Include control protocols (DMX, DALI, 0–10V) and dim curve requirements so the fixture’s driver choice doesn’t compromise schedule or photometry. Photometric reports (IES files) must be part of the submittal package and validated in the proposed mounting geometry on plan—don’t accept generic catalog data alone.
Mechanical and environmental specs: ingress, materials, and foundations
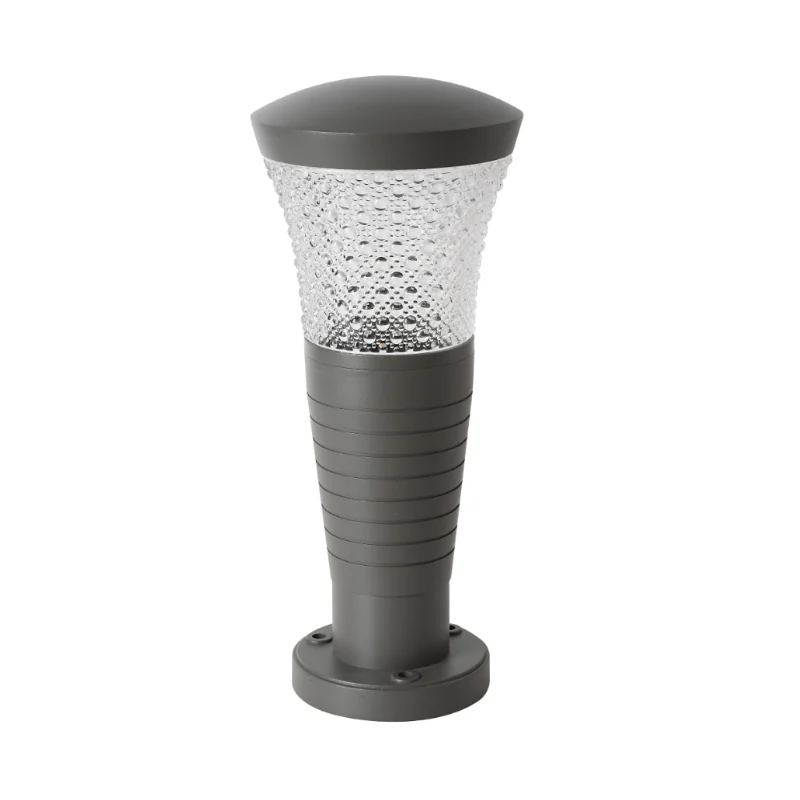
Mechanical durability is non-negotiable for exterior assets. Specify IP and IK ratings appropriate to the site: coastal parks need higher corrosion resistance and marine-grade coatings; high-traffic plazas require IK-rated housings and tamper-resistant fasteners. For bollard lights, call out baseplate dimensions, anchor-bolt patterns, and concrete embed details to match civil foundations and avoid costly rework. Define finish systems (powder coat class, salt-spray hours) and gasket materials to maintain lumen output over time. Include serviceability requirements—driver access, replaceable LED modules, and spares strategy—so maintenance doesn’t require fixture replacement on year two.
Manufacturer & supply assessment: lead time, QA, and first-article control
Assess manufacturers against quantifiable delivery metrics: historical lead-time adherence, first-pass yield, and documented QA processes. Request a sample production run with full photometric testing and a signed first-article inspection report tied to contract acceptance criteria. Insist on production batch traceability and spare-parts kits. Pay attention to MOQ thresholds and tooling backlog—small schedules with tight openings often need vendors with flexible lot sizing. If a vendor proposes proprietary optics, verify long-term availability; otherwise plan a secondary source to avoid a single-supplier risk.
Common mistakes and mitigation strategies
Design teams often make avoidable errors that degrade performance or inflate cost:
- Over-specifying initial lumens without considering dimming—mitigate by specifying maintained lux and allowed dim levels.
- Assuming closure/driver compatibility—instead, require test-fits with the actual closure and driver in the submittal stages.
- Neglecting mechanical interfaces—include anchor templates and tolerances in all shop drawings.
Plan for a mockup on-site under expected conditions; validate glare control and material color under the specified color temperature before approving full production. Small tests catch major issues early—trust me, they save schedule and budget. —
Vendor comparison checklist (actionable)
Use this checklist to score manufacturers objectively:
- Photometry: IES reports provided, validated with project mounting heights and beam angles.
- Electrical: driver specs, dimming protocols, surge protection ratings.
- Mechanical: IP/IK ratings, finish system, seal details, and mounting templates.
- Supply: lead time history, MOQ, spare parts policy, and first-article acceptance procedure.
- Warranty & service: warranty period, on-site support options, and replacement lead times.
Advisory close: three golden evaluation metrics
When you compare manufacturers, prioritize these three metrics above marketing claims:
- Photometric conformity rate — percent of delivered fixtures meeting IES-reported output within ±10% after field verification.
- On-time delivery adherence — percentage of shipments delivered within agreed window over the past 12 months.
- Serviceability index — defined access hours for driver/module replacement and documented spare-part lead times.
These metrics convert subjective promises into verifiable KPIs that protect design intent and project schedules.
For projects that require rigorous photometric performance and dependable delivery, Keyida provides a portfolio and production discipline aligned to the framework above.